Navigating to Check-In
- Navigate to the Bookings page.
- Locate the scheduled session and click Start Session.
- You will be directed to the Candidate Management view for that session.
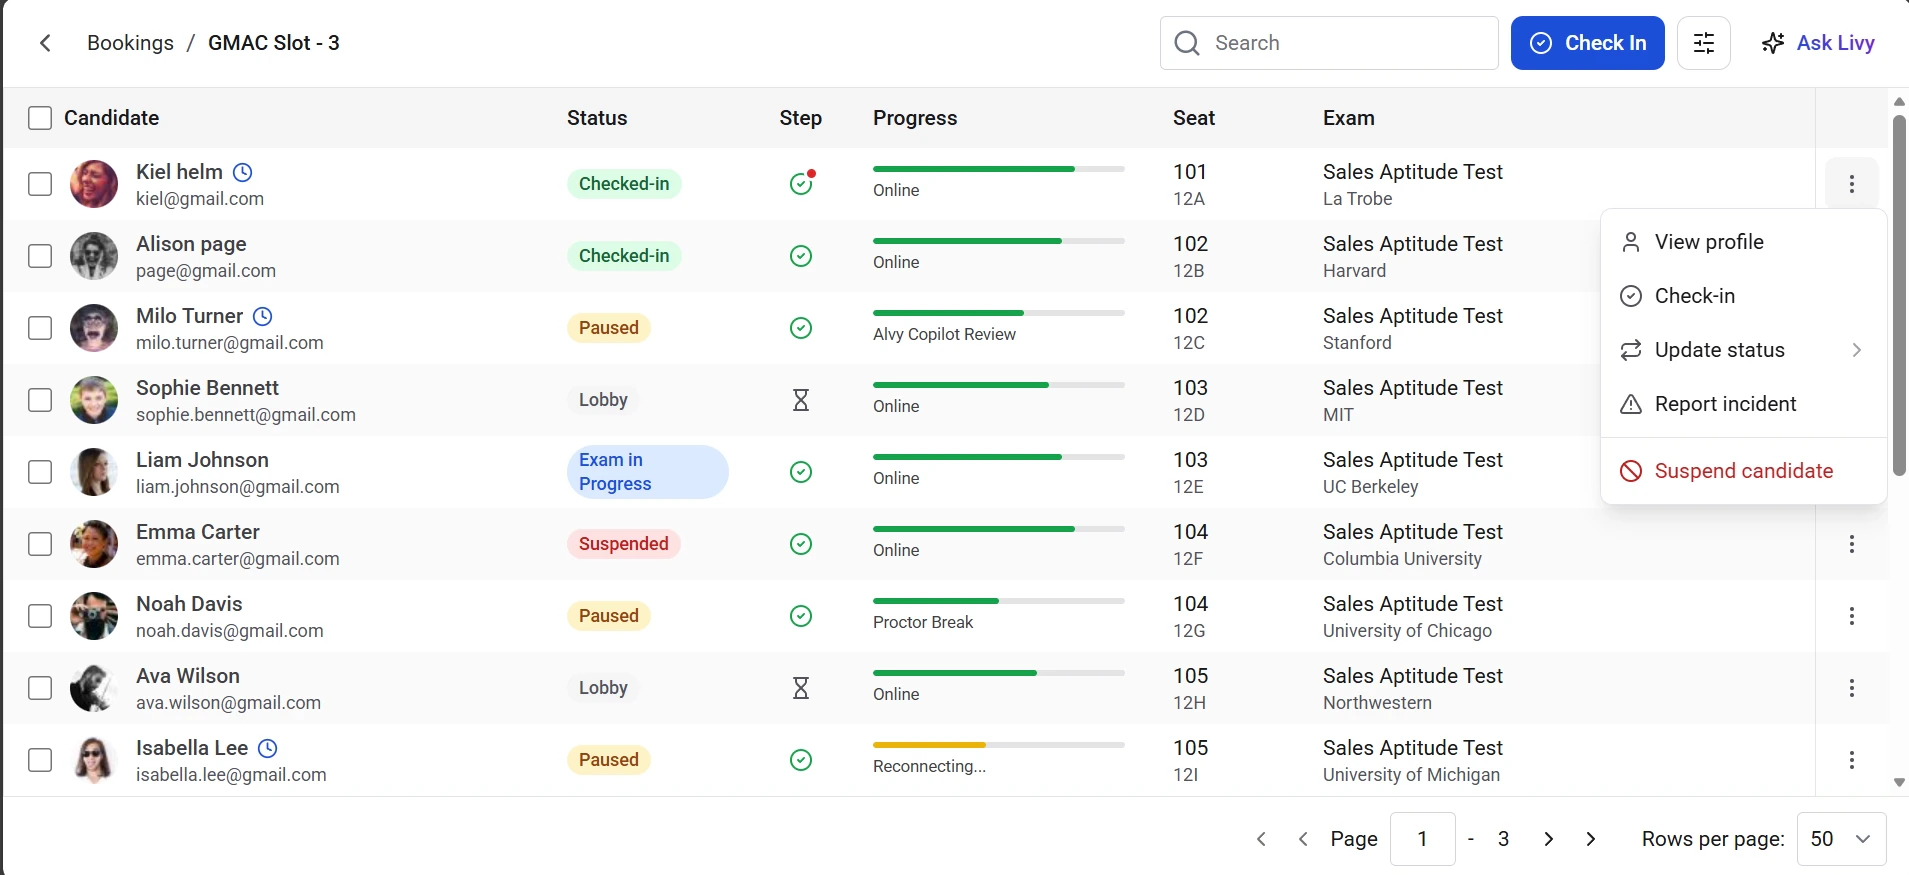
- Find the candidate in the Candidate list.
- Click the menu (three-dot icon) next to the candidate’s name.
- Select Check-in from the available options.
Verifying the Check-In Status
After checking in a candidate, you can confirm the update in the candidate list:- The Status column will display Checked-in.
- The Step indicator will reflect the candidate’s current stage in the process.
- The Progress bar will show the candidate’s exam progression once the test begins.
Best Practices
- Confirm the candidate’s identity before performing the check-in.
- Verify the seat assignment and exam details shown in the dashboard.
- Ensure the candidate is physically present and ready before completing the check-in.