> ## Documentation Index
> Fetch the complete documentation index at: https://docs.talview.com/llms.txt
> Use this file to discover all available pages before exploring further.
# How to access the Ivy Avatar Builder
The Ivy Avatar Builder is where you create, manage, and publish AI interviewer personas for your hiring process. In this article, you will learn how to access the Ivy Avatar Builder and what to expect when you land there.
#### Before you begin
* You must be logged in as a Master Content Manager or Content Manager to access the Ivy Avatar Builder.
* The Ivy Avatar Builder does not yet have an entry point in the sidebar navigation. You will need the direct URL to access it.
***
#### Step-by-step guide
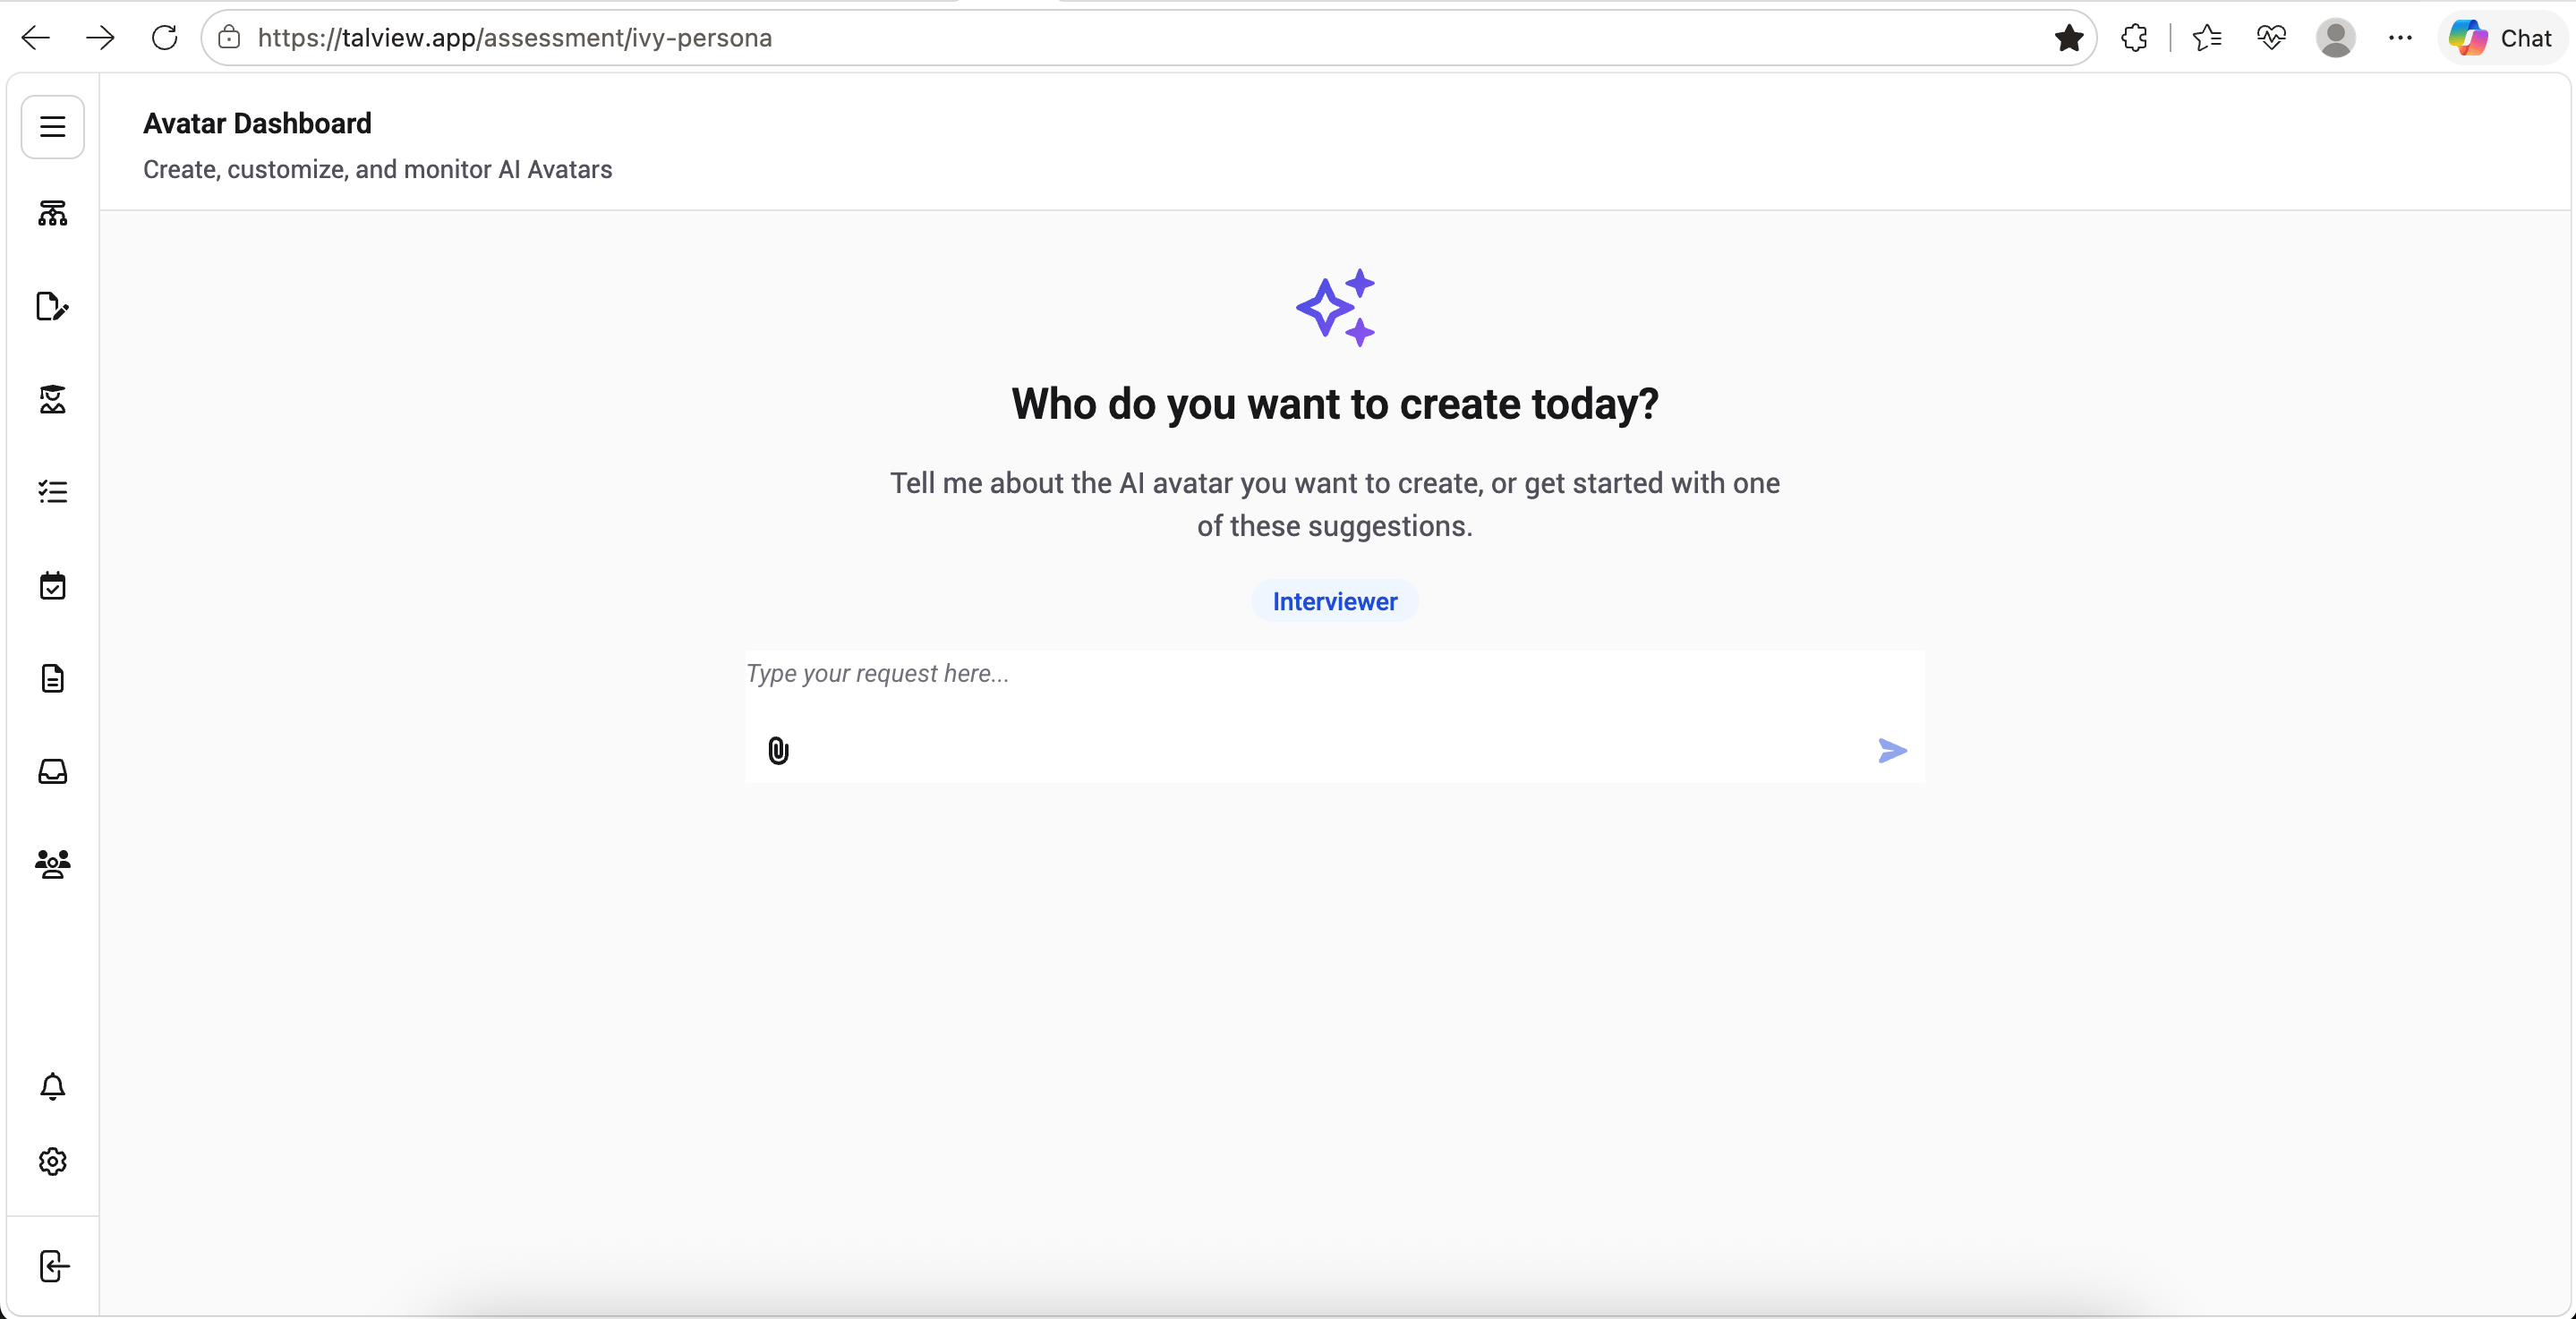 1. Go to [**https://talview.app/assessment/ivy-persona**](https://talview.app/assessment/ivy-persona**).
2. You will land on the Ivy Avatar Builder dashboard, referred to as the **Avatar Dashboard**.
3. If you have published avatars already, they will appear listed below the input box on the dashboard.
4. From here, you can begin creating a new avatar or continue working with an existing one.
**Additional Tips**
* Since the Ivy Avatar Builder isn't yet linked in the navigation, bookmark the URL for quicker access.
This documentation is built and hosted on [Mintlify](https://mintlify.com), a developer documentation platform.
1. Go to [**https://talview.app/assessment/ivy-persona**](https://talview.app/assessment/ivy-persona**).
2. You will land on the Ivy Avatar Builder dashboard, referred to as the **Avatar Dashboard**.
3. If you have published avatars already, they will appear listed below the input box on the dashboard.
4. From here, you can begin creating a new avatar or continue working with an existing one.
**Additional Tips**
* Since the Ivy Avatar Builder isn't yet linked in the navigation, bookmark the URL for quicker access.
This documentation is built and hosted on [Mintlify](https://mintlify.com), a developer documentation platform.